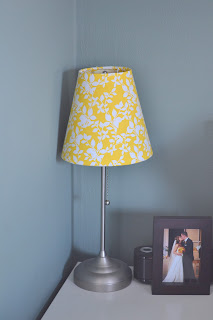
You may recall that I mentioned in a past post the need for some new lampshades on our bedside lamps. We've been periodically searching for some new ones over the past year or so, but never seem to be able to find any that would fit quite right. The lamps are just inexpensive lamps from Ikea that we purchased 4 or 5 years ago, and they came with the lampshades you saw in the pic. Over time one of them got yellowed from the light bulb, so we knew we wanted to replace them. Anyway, since we weren't able to find a good match, and I have a DIY streak going, I just thought...why not re-cover them myself!? So I did. Here's a little tutorial for you if anyone is interested in making these themselves. I want to preface this tutorial by saying this project will definitely be easier if you have an extra set of hands with you, though. :)
The materials I used are as follows:
Fabric
Scissors
Measuring tape
Scribe (which I keep calling a compass)
Spray adhesive
Hot glue gun
The first thing you want to do is strip off the cover on your lampshade.


So, what do you think?
The materials I used are as follows:
Fabric
Scissors
Measuring tape
Scribe (which I keep calling a compass)
Spray adhesive
Hot glue gun
The first thing you want to do is strip off the cover on your lampshade.
 |
| Since this project was learn-as-we-go, not all the items we ended up using are actually pictured here. |
 |
| You can see we were in the garage again. :) |
Keep the lamp shade cover you stripped to use as a template. If you are covering a drum shade, you won't need to do this, but for the typical lampshade shape, your life will be much easier if you have this for a template.

Lay out your template on the fabric. You could actually flip the fabric over so your pencil marks are on the non-printed side of the fabric. It's not necessary because they shouldn't show anyway, but couldn't hurt!

Trace your lampshade template onto the fabric.


Make a mark approximately 1 to 1.5 inches above the original outline.
Do this for the top and bottom of the shade.
Do this for the top and bottom of the shade.

To keep with the curved shape of the lampshade, we used a compass scribe set at 1.5 inches and marked a second line to follow both the top and bottom of the shade. This will give you enough extra fabric to be able to wrap around the shade.


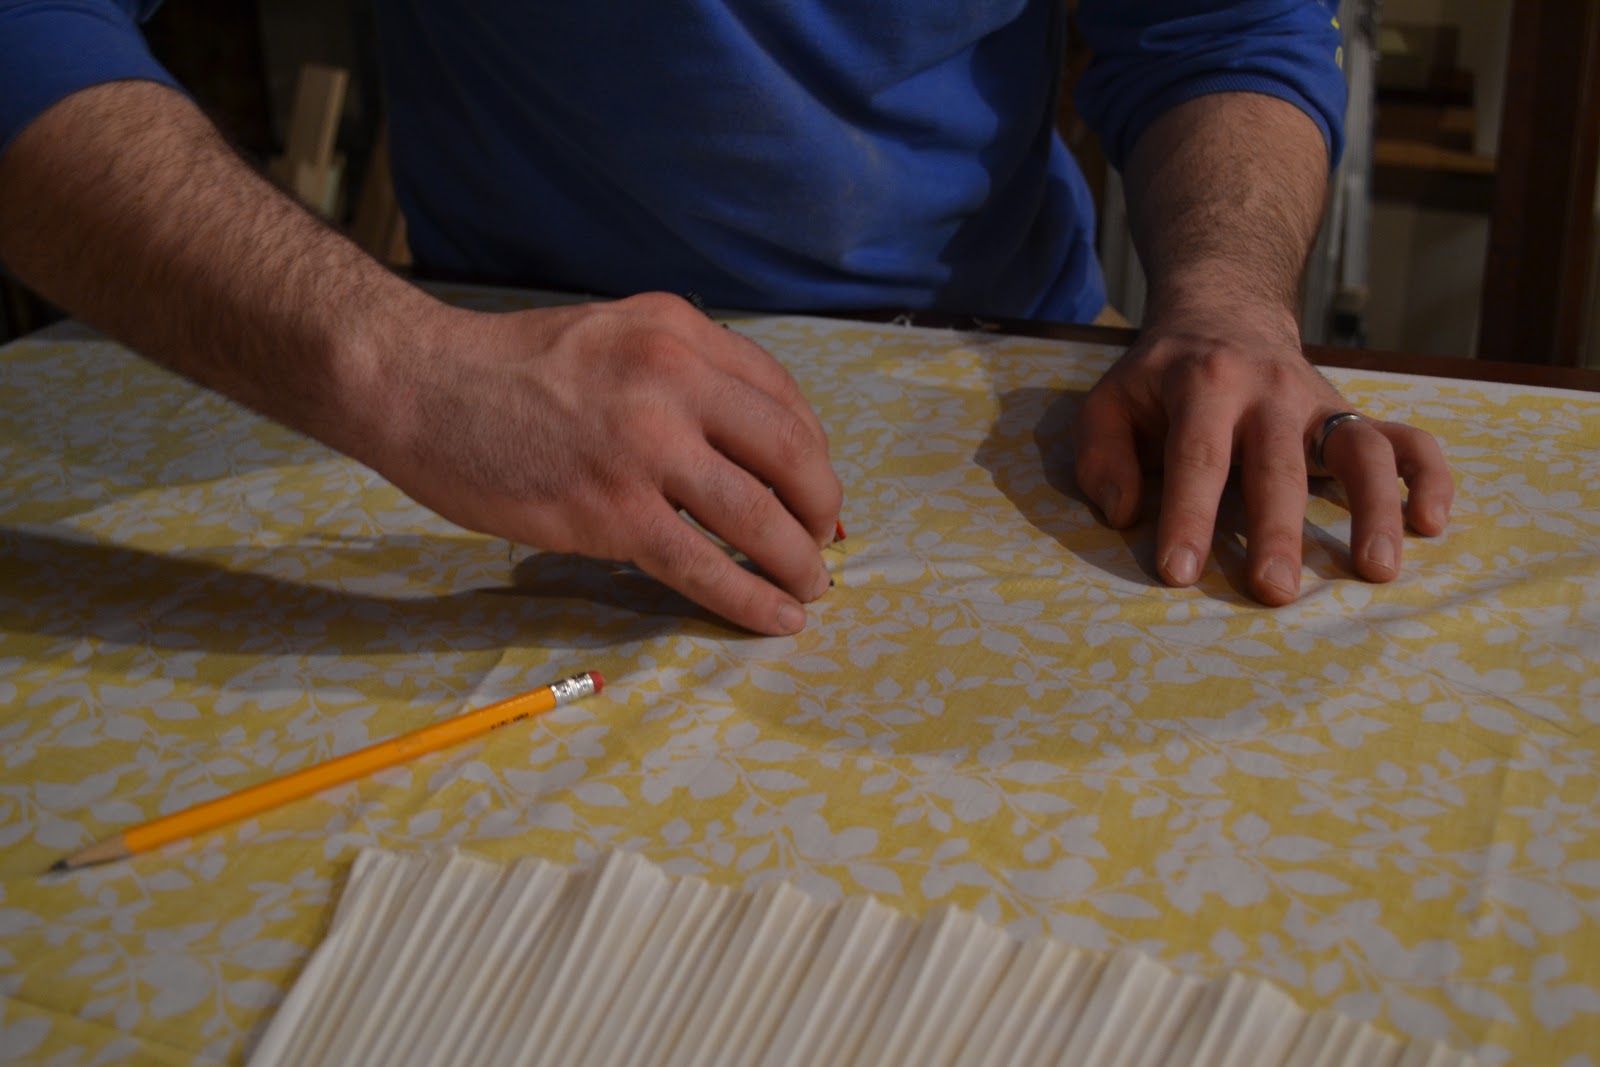 |
| My sexy hubby's hands helping me out so I could snap a pic. :) |
The next step, (I didn't take pictures...sorry!) is an important one. For the outer sides of the template, you'll want to measure about 2.5 inches on either side from the bottom and 1.5" from both sides of the top. Here's a drawing to help visualize. This will ensure you have plenty of fabric to completely cover your shade...

Notice how the bottom stretches out further than the top to keep the shape of the shade.
Next, cut your fabric along the lines.

Then you'll be left with this!


Next, spray your lampshade with spray adhesive like so...


Slowly and carefully wrap the fabric around the sticky shade. Watch for air pockets and wrinkles. This is where the second set of helping hands comes in. One of us held the shade while the other wrapped and smoothed.

Test the lampshade on a giant flashlight. Just kidding, we did though, hahaha...

Using a hot glue gun, wrap the edges of the fabric around the wire rim of the shade. *Note, on the second shade we actually skipped the hot glue gun all together and just used some more spray adhesive. Either way will work just fine.


And voila! A whole new look to some once boring lampshades!!


And watch for a tutorial on how I made this guy...no sewing machine required! LOVE!

So, what do you think?
Also...on a funny note. Jeff and I decided that we're pretty sure we are probably the only couple our age in the quad cities that knows that Hancock Fabrics is closed on Saturday nights, but JoAnn Fabrics is open. Ha ha ha, it's funny how old grown-up that makes us feel!
Love the lampshades! Great job! Don't you feel so "YHL"??? :) Haha! You are so lucky to have a hubby that wants to/will partake in that...not sure I could convince Luke to help out with that stuff. I guess if beer was involved...but then I'm not sure how much help he would be! - Dusty
ReplyDeletethanks for the tutorial! i need this. we have 5 lamps from target (a package dealy thing) that we got for our wedding - love the stands, but hate the plain white lampshades - this is awesome! did you use a special kind of fabric? one that is thin or anthing to let the light through better?
ReplyDeleteGreat job!! And, great tutorial. I think I'm clipping it to Evernote.
ReplyDelete